Stripe
Stripe (https://stripe.com/) is a global payment processing platform that enables businesses to accept online payments and manage financial transactions. It supports multiple payment methods, including credit/debit cards, digital wallets, and local payment options. Stripe offers a suite of financial services, including fraud prevention, invoicing, and subscription management, making it a preferred choice for startups, enterprises, and e-commerce platforms worldwide.
How to connect with Stripe
To connect with Stripe you have different options.
You can either connect by using IXOPAY Payments Intelligence Stripe's app, directly from you Stripe account or you can follow a process where you will provide an API Key directly from Stripe.
As an additional option you can configure Webhook's ingestion. Refer to the steps listed at the end of this page.
Required access credentials
- Name
Name of Stripe's Account - API key
The KeyID used for connection to Stripe
Importing Historical Data
During the onboarding process with IXOPAY Payments Intelligence, you can import historical data from Stripe. Please reach out to the IXOPAY Payments Intelligence team to confirm which data can be historically downloaded.
Available Reports
The following reports are available for the PaySafecard integration and will provide the necessary data for a successful integration with IXOPAY Payments Intelligence. Please ensure that you select these reports as a minimum when configuring your PaySafecard connection:
- Balance Report
- Balance Reconciliation Report
- Payout Report
- Payout Reconciliation Report
- Transaction webhooks
Webhook's integration
To ensure IXOPAY Payments Intelligence receives all your transactional events, follow the steps below to configure your webhooks with Stripe. Important: If you have integrated Stripe via the Stripe App Marketplace flow, configuring webhooks is not necessary. In such cases, please contact the support team for assistance.
-
In the Stripe Dashboard, navigate to the bottom left corner and click on "Developers".
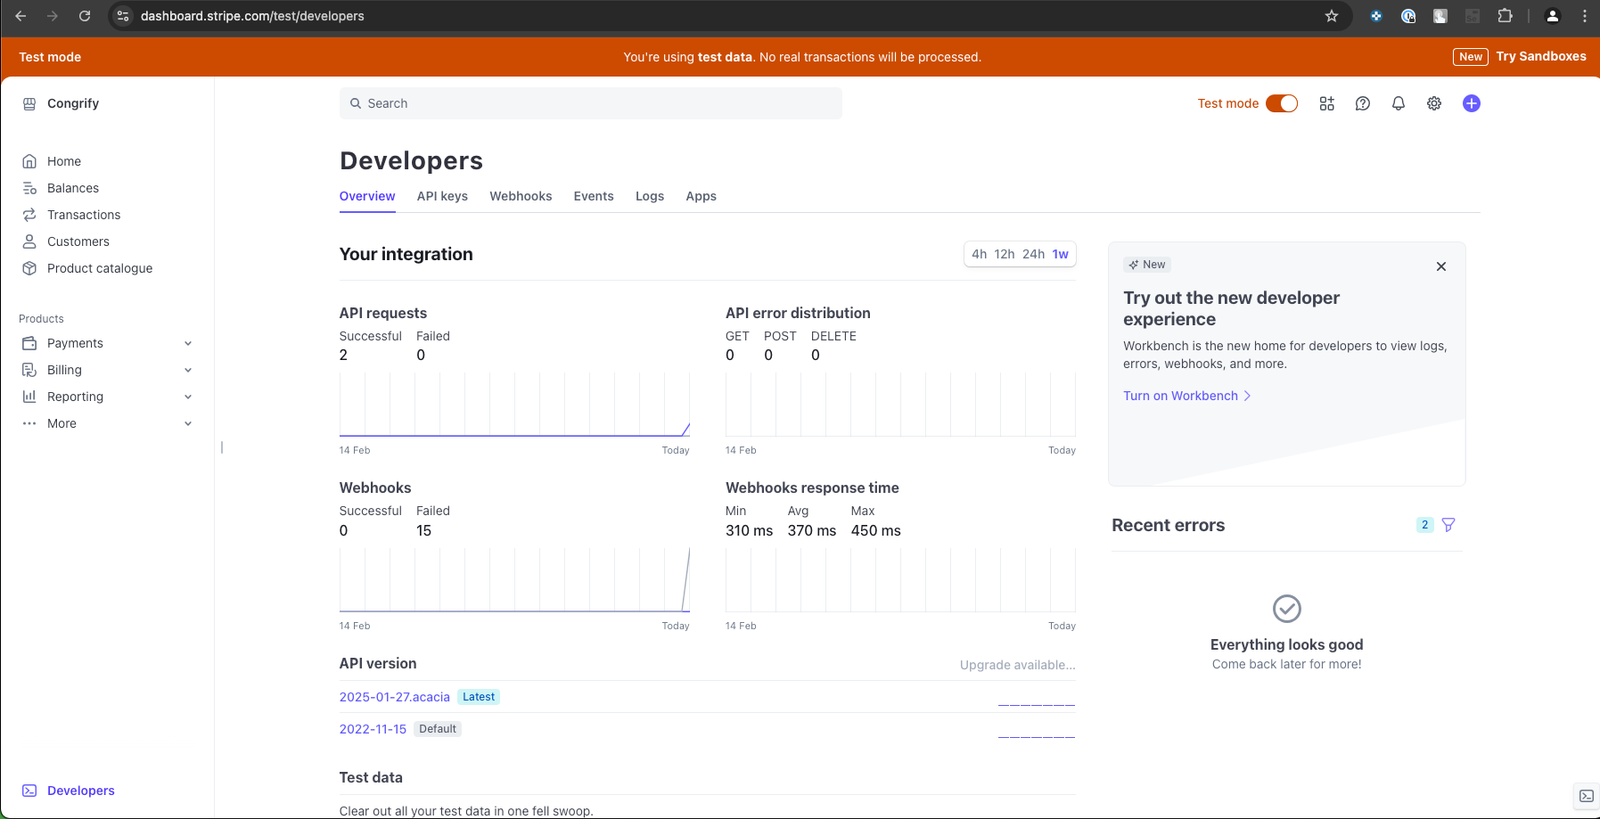
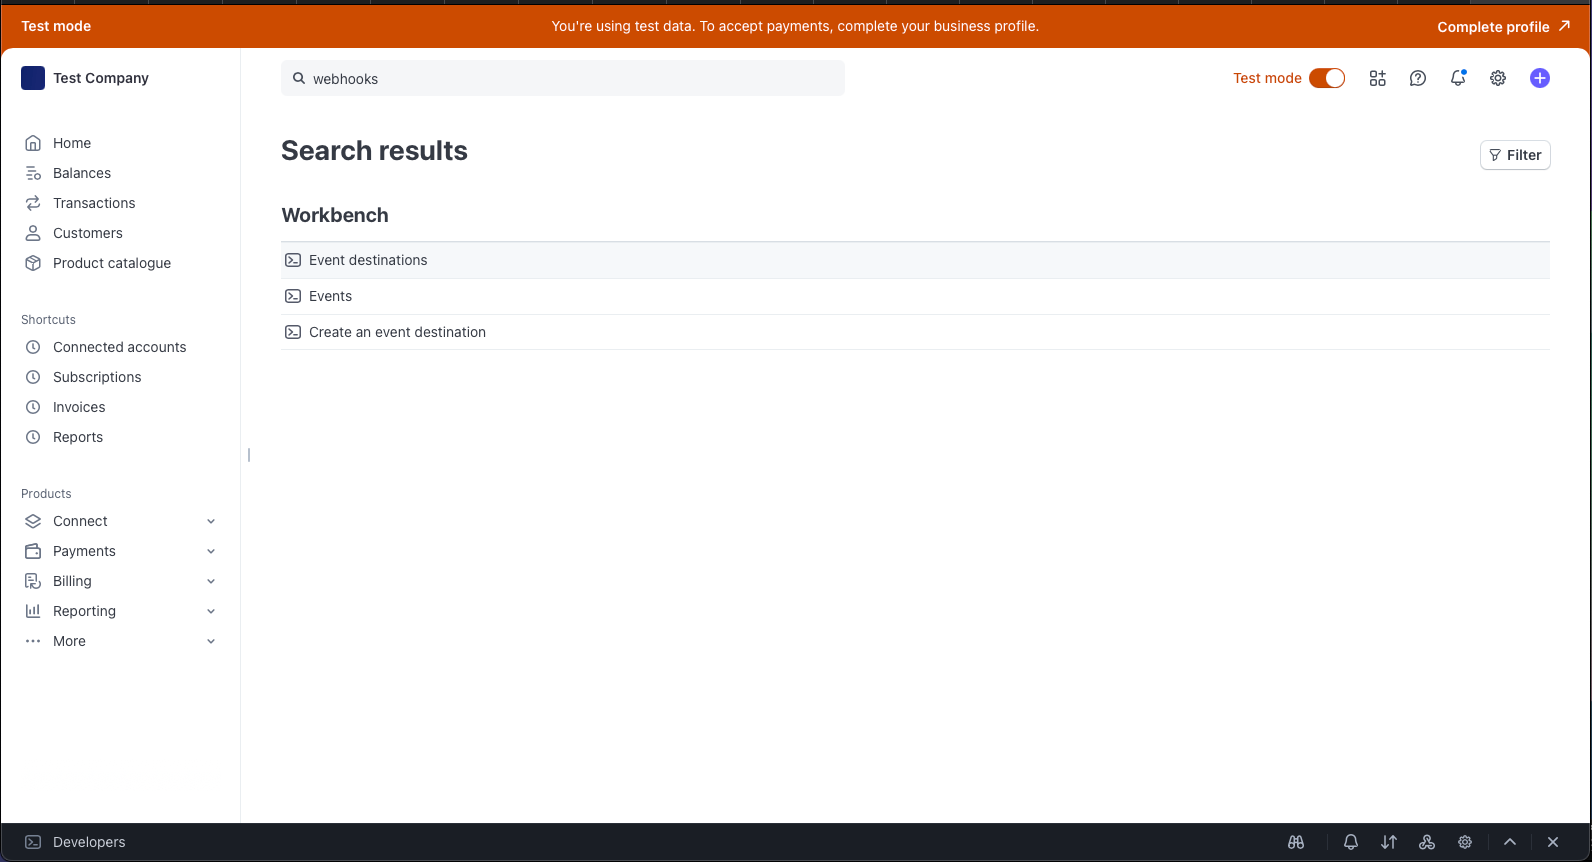
Alternatively: Use the search bar to search for "webhooks" and click on Event destinations.
-
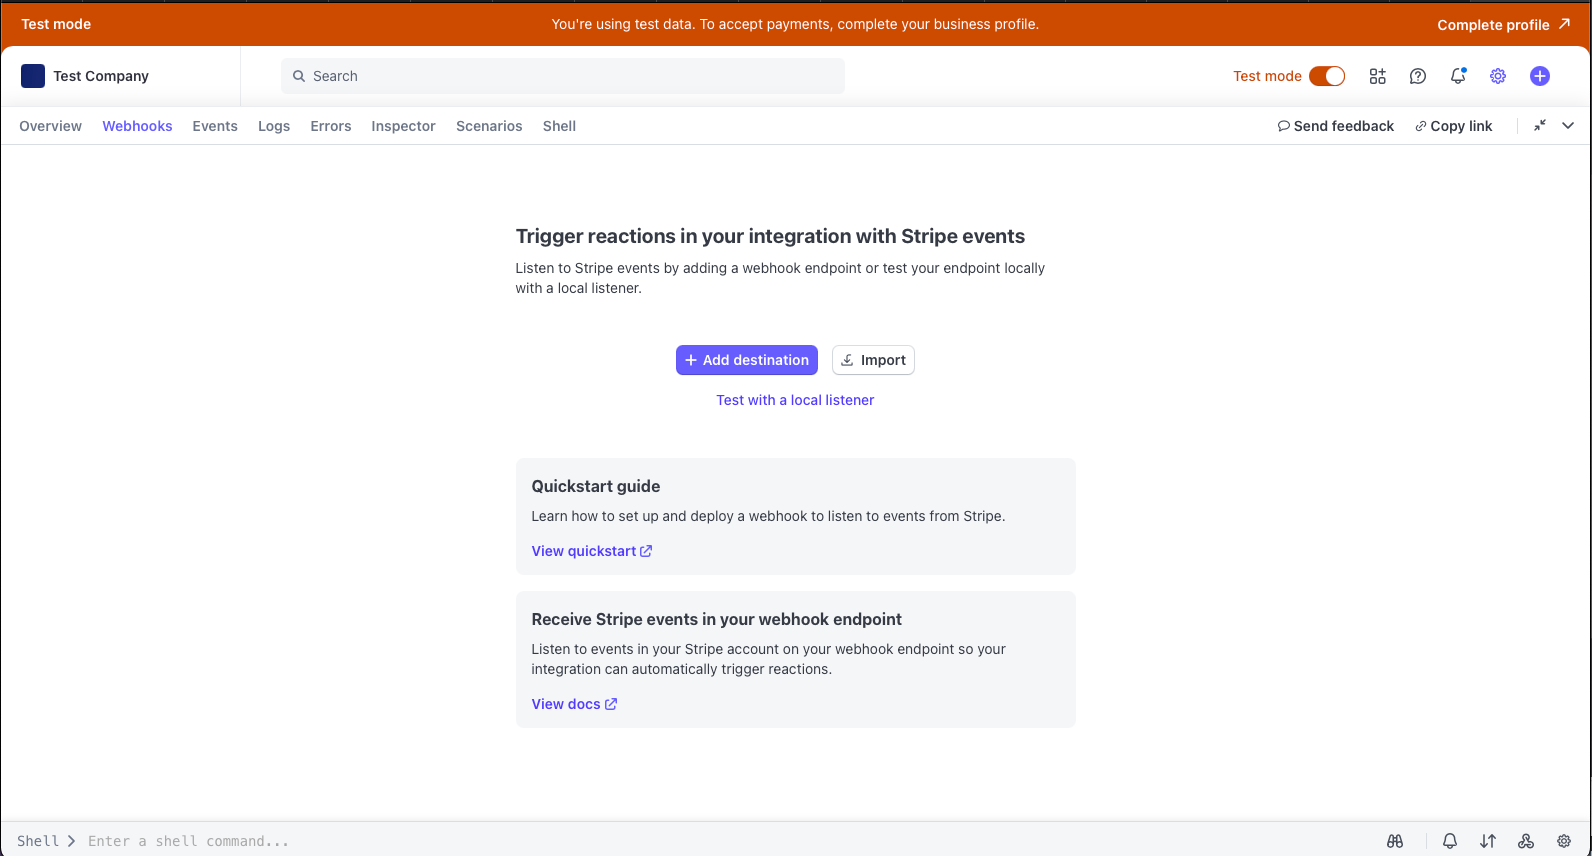
Click on “Add destination”
-
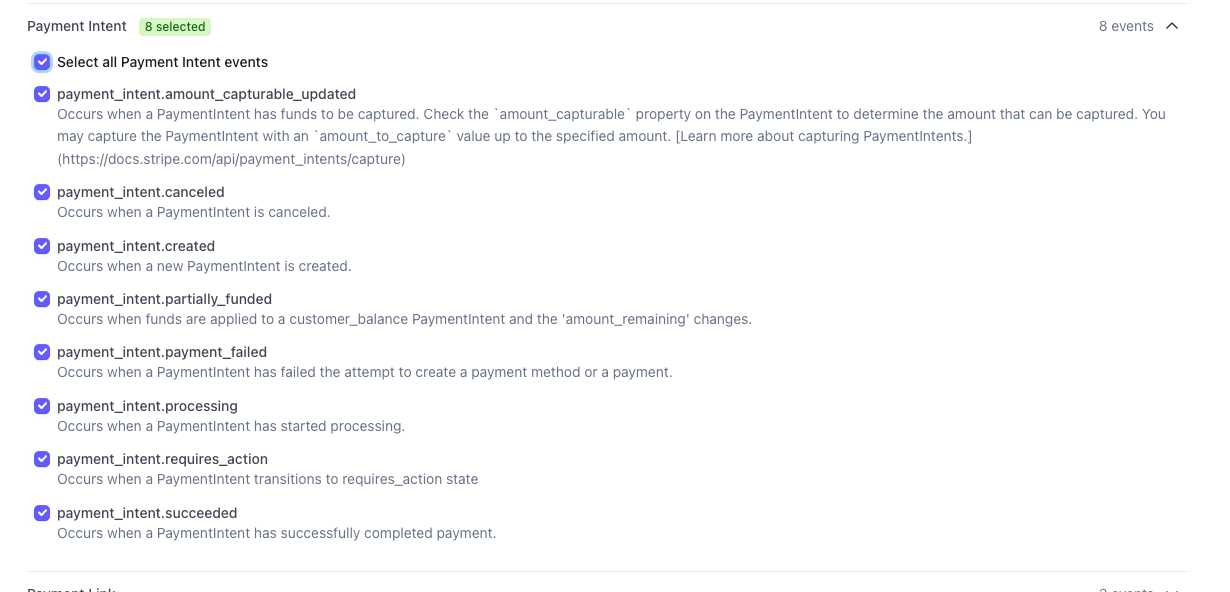
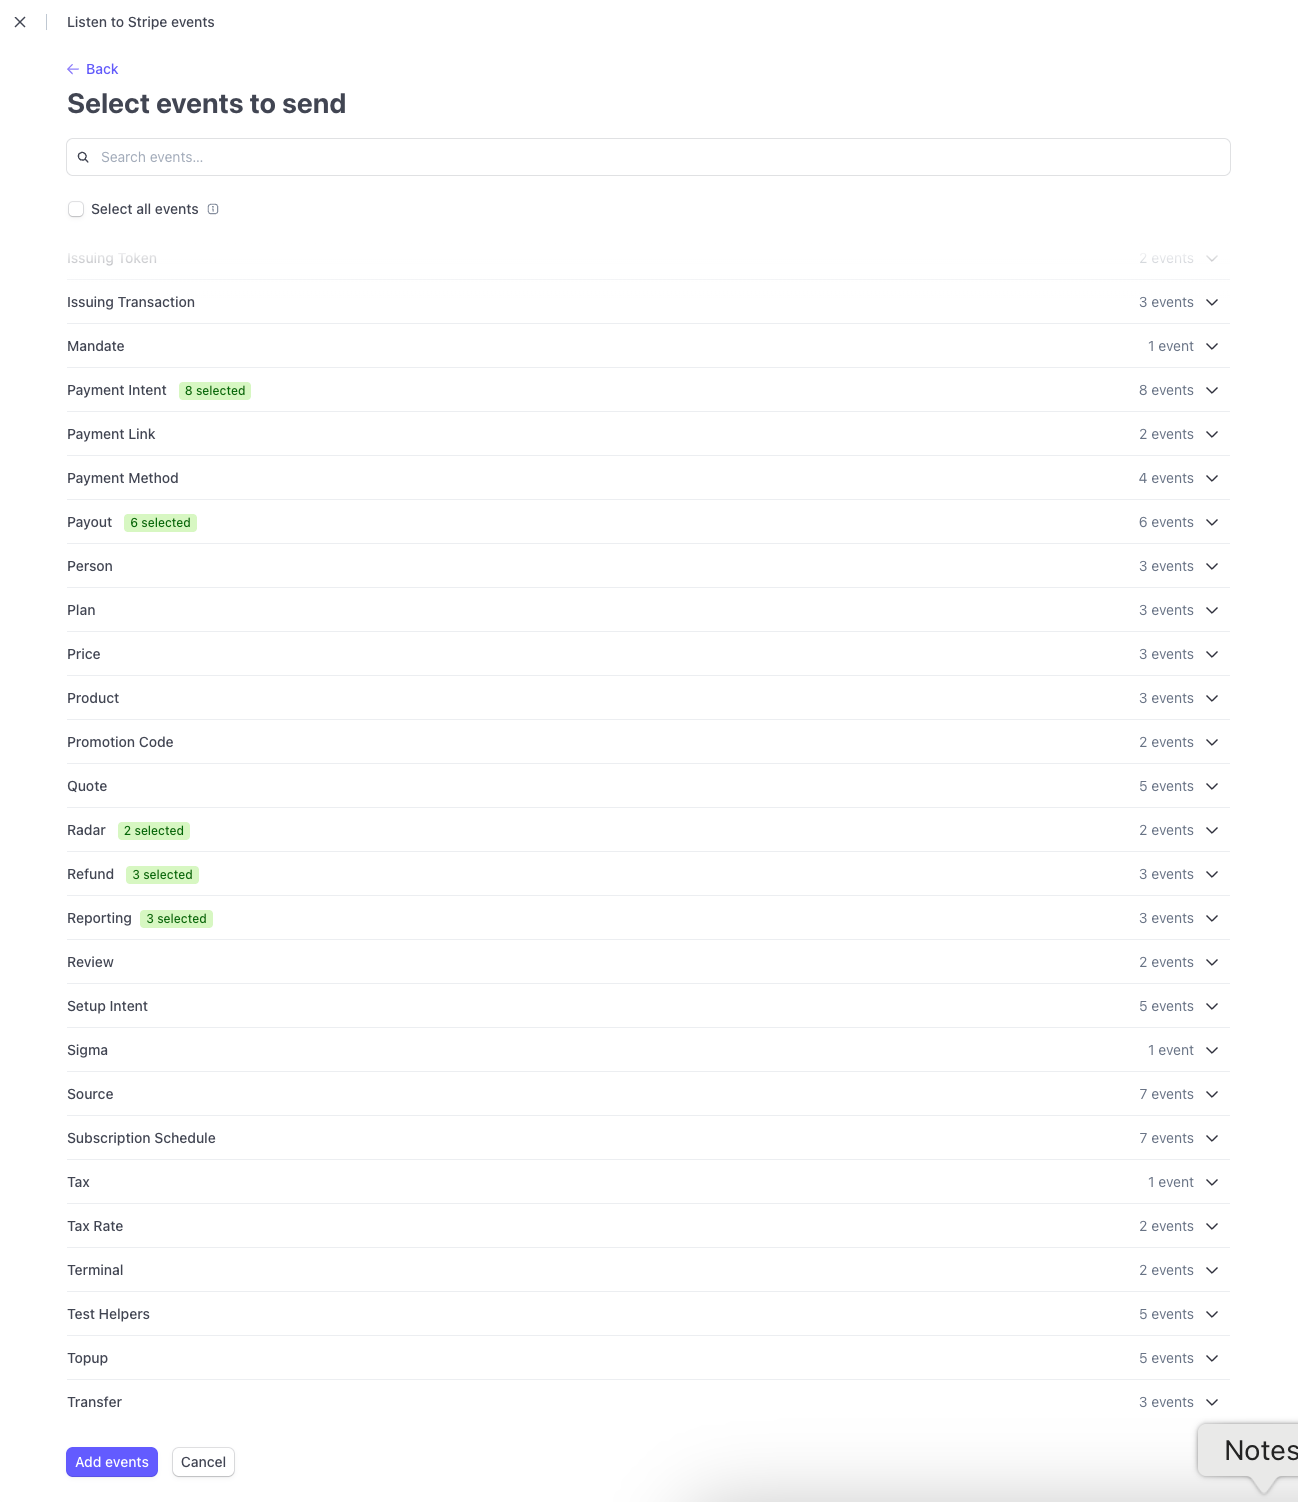
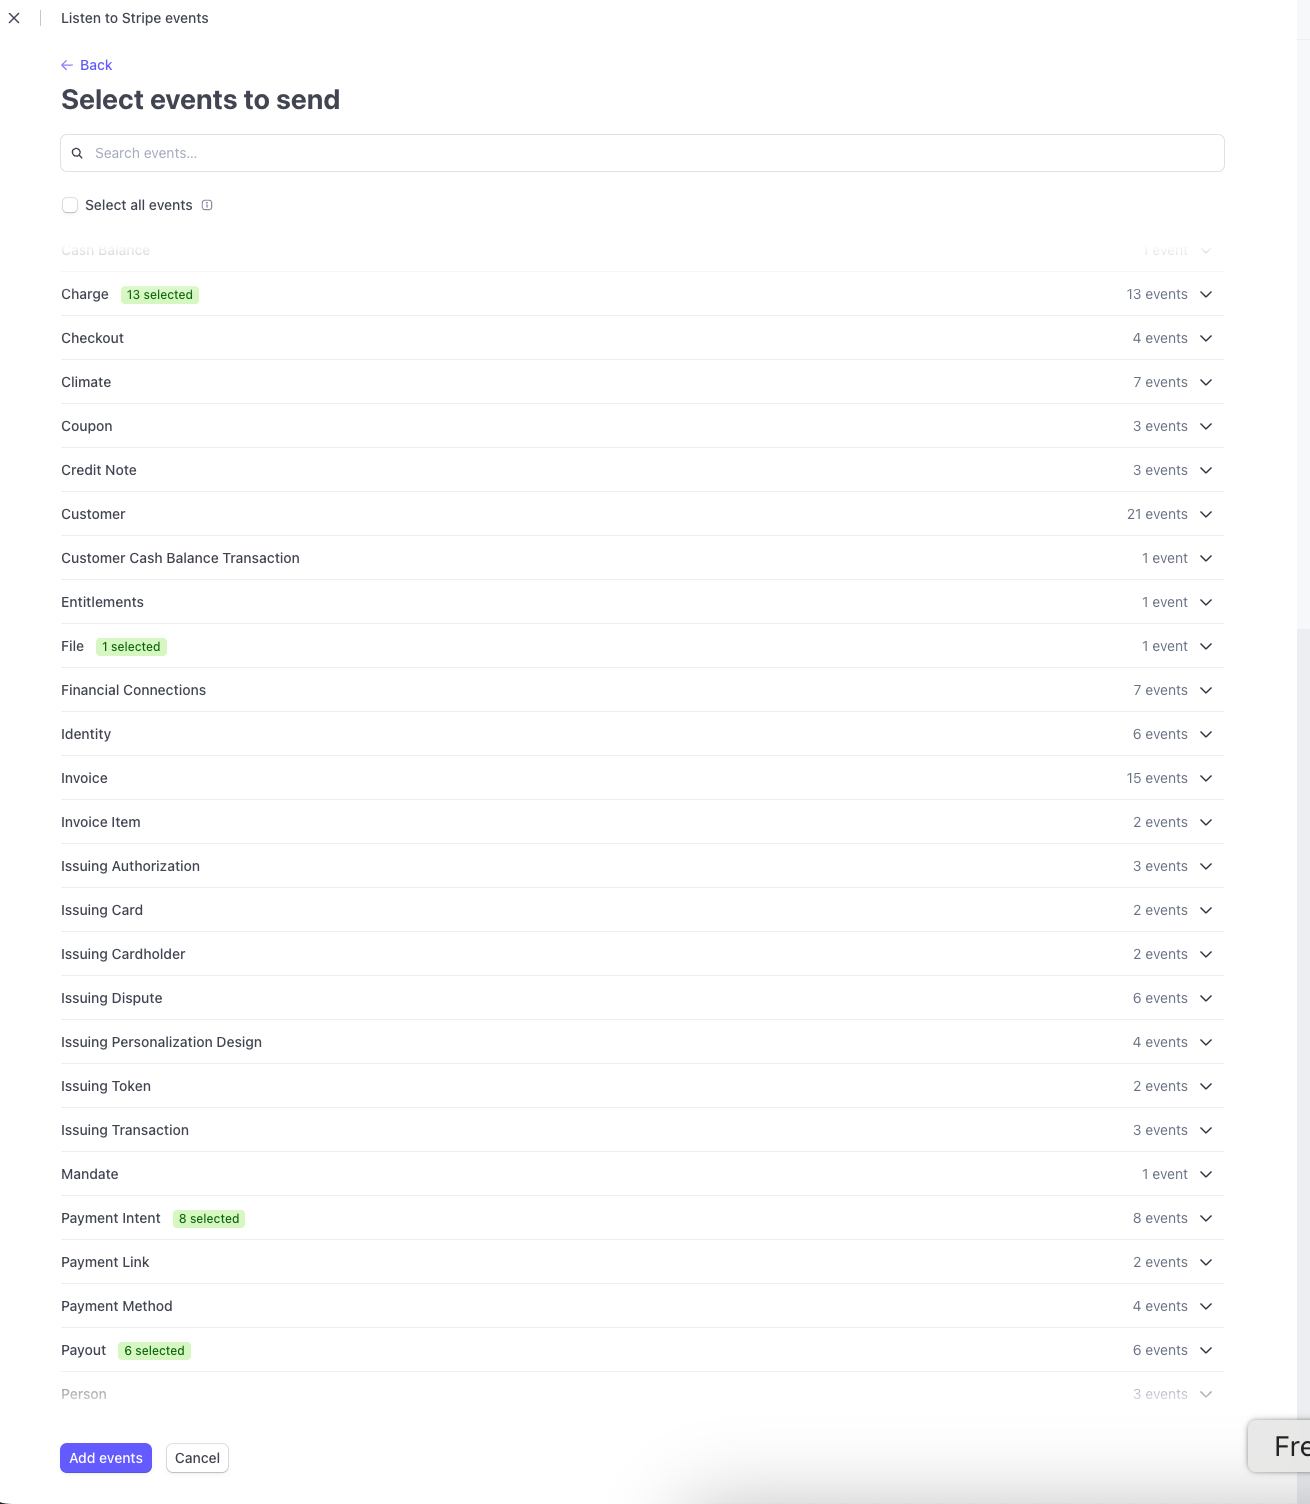
Select your account and API version, then locate the event groups listed below.
- Charge
- File
- Payment intent
- Payout
- Radar
- Refund
- Reporting
Within each event group, select all associated events to ensure comprehensive monitoring of transactional activities. For a detailed list of event types, refer to Stripe's Types of events documentation.
-
After selecting all events within each group, you should have a total of 34 events selected. This comprehensive selection ensures that your webhook endpoint receives all relevant transactional events from Stripe.
-
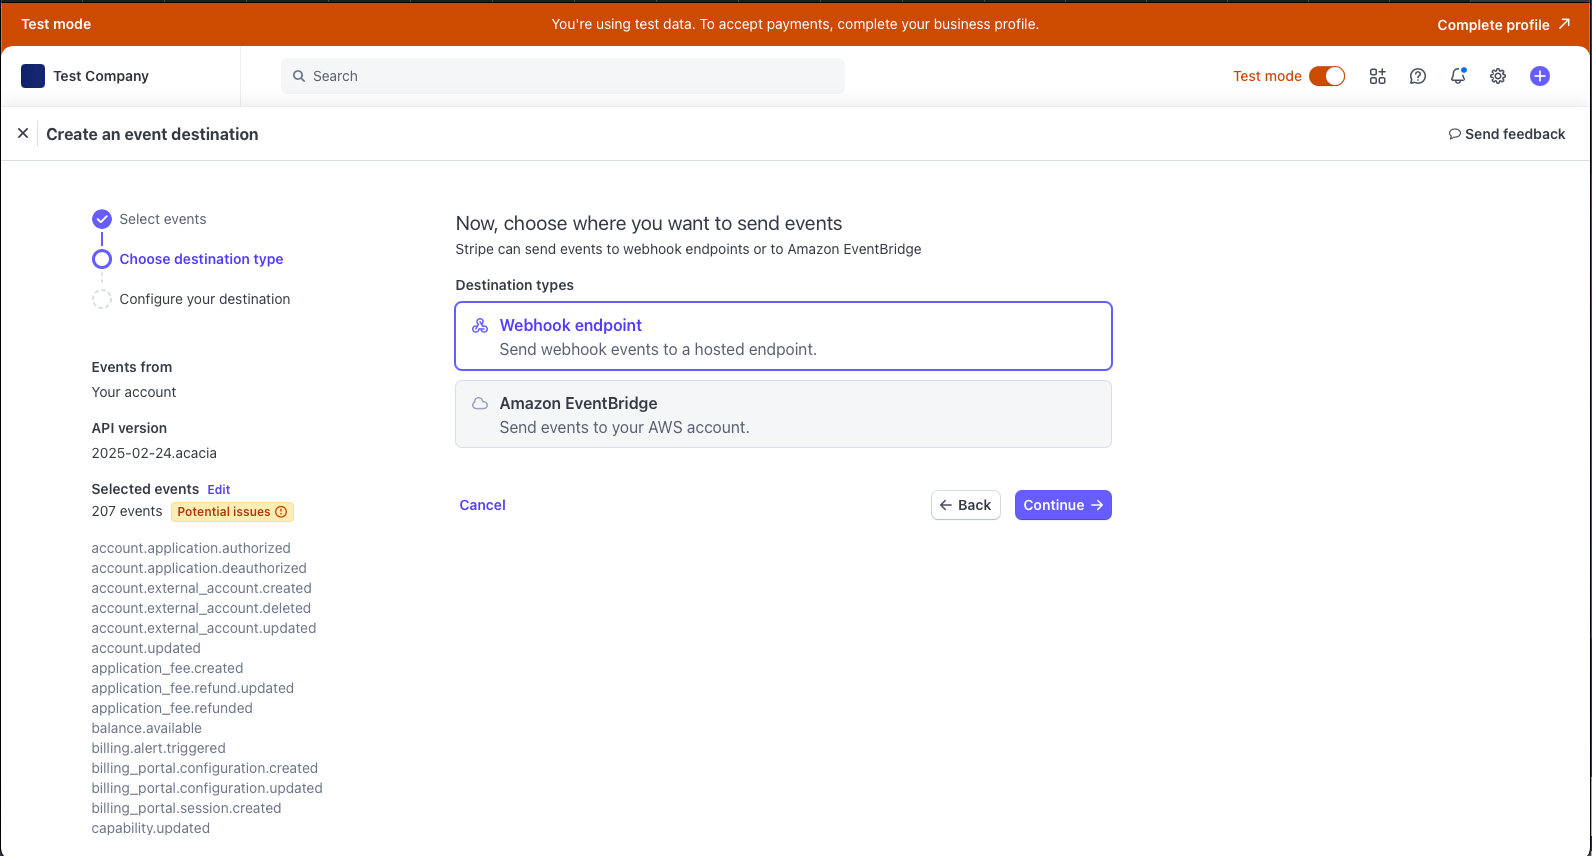
Then Select "webhook endpoint"
-
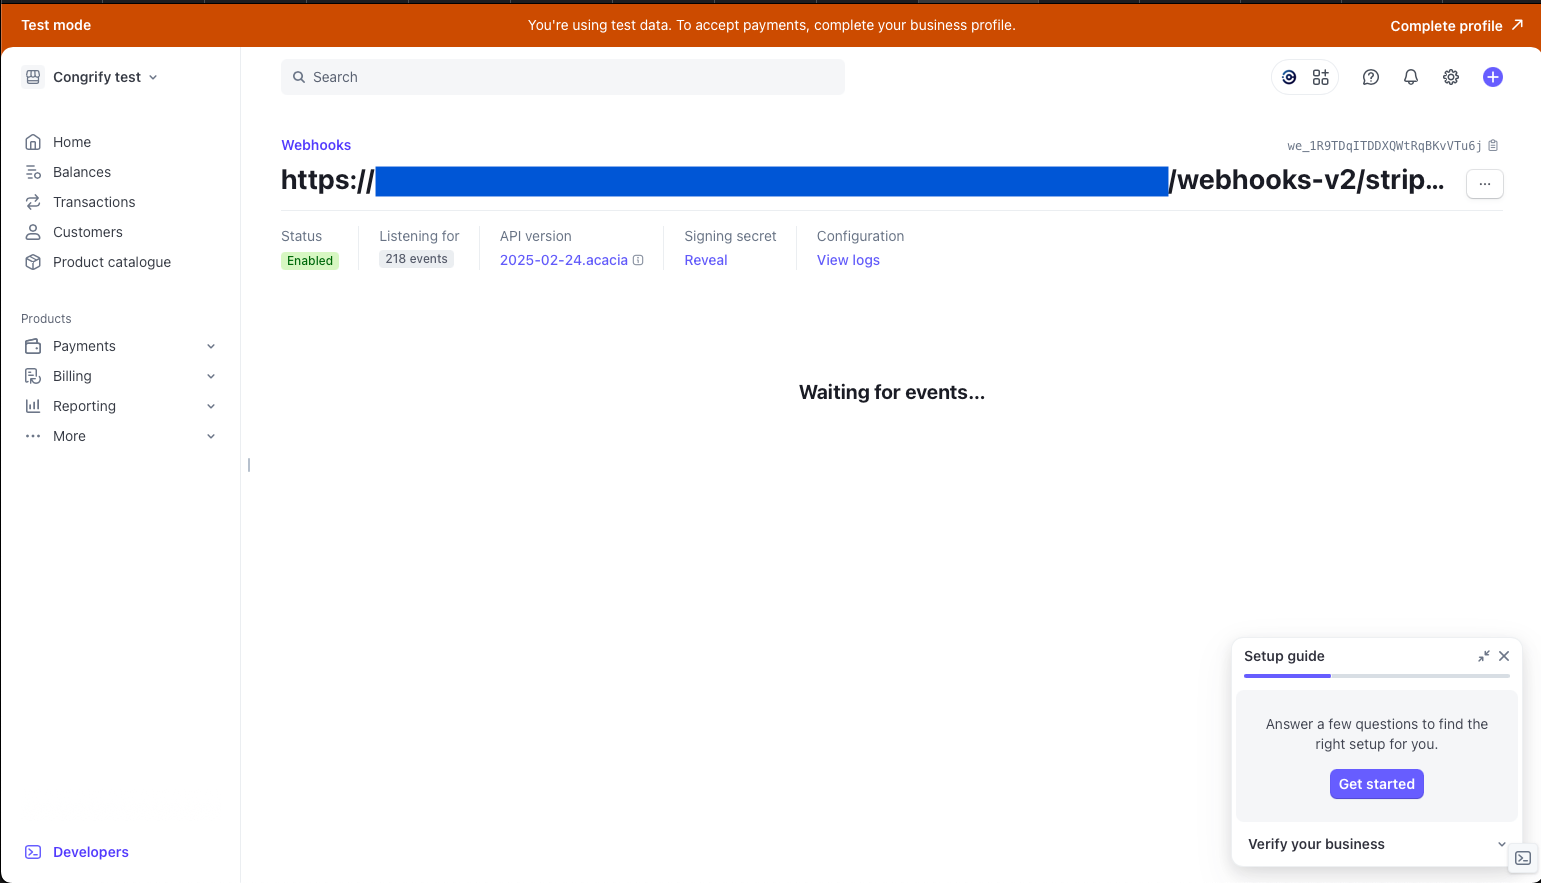
Enter the URL from the receiving IXOPAY Payments Intelligence endpoint. The endpoint structure should https://tech.prod.aws.congrify.com/webhooks-v2/stripe/\{YOUR-MERCHANT-ID}. You can find it in the "Connections" page in IXOPAY Payments Intelligence UI under "Stripe" -> "Add provider" at the bottom of the pop-up screen

-
Click on "Create destination". Get you signing key for the webhooks by clicking on "Reveal", copy it and enter in the corresponding field in the IXOPAY Payments Intelligence UI, Connnections page for Stripe (below the webhooks enpoint link)
-
After completing the previous steps, retrieve your Stripe webhook endpoint's Signing Secret Key and enter it into IXOPAY Payments Intelligence's Stripe connection settings to finalize the setup. This key is essential for verifying the authenticity of incoming webhooks from Stripe. To locate the Signing Secret Key:
- In your Stripe Dashboard, navigate to the Developers section and select Webhooks.
- Click on the webhook endpoint you've configured.
- In the Signing secret section, click Reveal to view your secret key.