Block- & Allowlist
You can easily set up blocklists and allowlists in the IXOPAY platform, providing greater control over suspicious transactions that could affect your business or to allow certain transactions to be approved without restraints due to positive results in the past.
To manage the blocklist and allowlist:
- Open the Risk Management section in the navigation menu and select either Allowlist or Blocklist.
- You can define blocklists and allowlists at the merchant level or for a (sub-)tenant.
Lists defined for a (sub-)tenant are applied to all (new and existing) merchants associated with that (sub-)tenant.
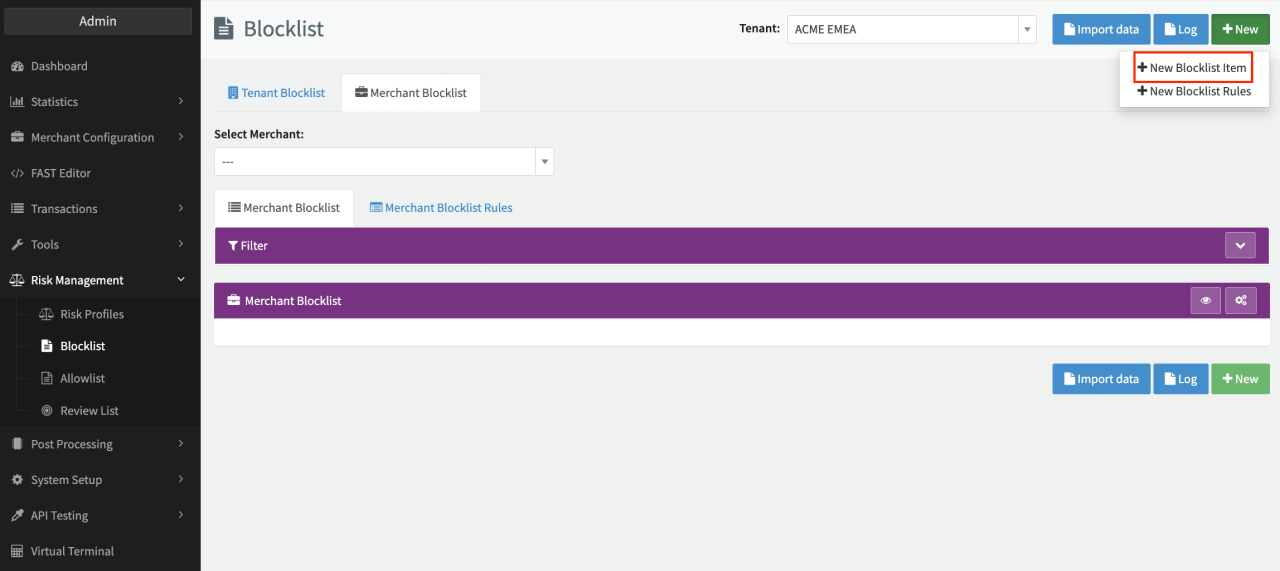
- Switch to the Tenant Blocklist/Allowlist tab to define a list at the tenant level.
- Switch to the Merchant Blocklist/Allowlist tab and select a merchant (see Merchant Selection) to define a list at the merchant level.
- Click on + New and select + New Blocklist Item / + New Allowlist Item.
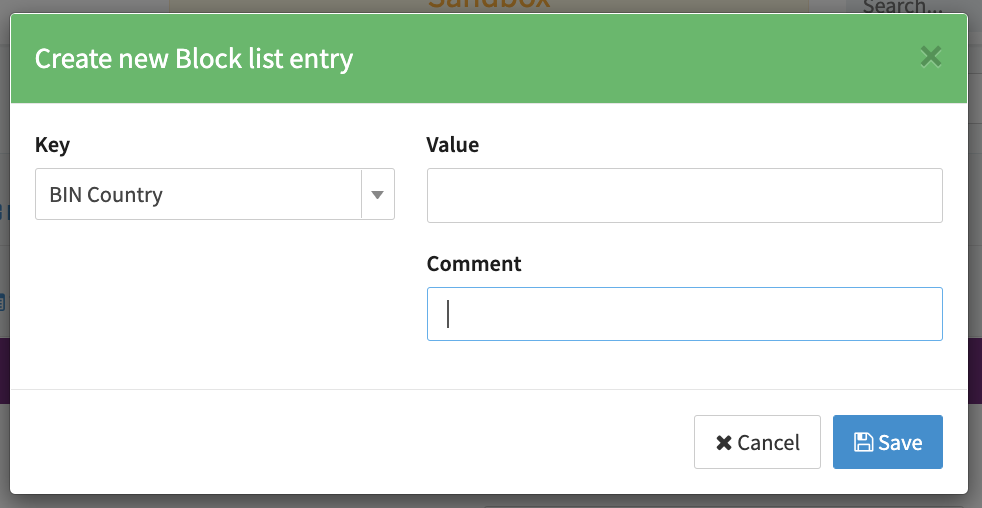
- Select a Key to determine what type of information should be added to the list (see Add entry screenshot). You can select from the following: BIC, BIN Range, Billing Country, CC Fingerprint, Customer Identification, Email, First Name, IBAN, IP Country, IPv4 Address, Last Name, Shipping Country, Billing Phone Number and Shipping Phone Number.
- Enter a Value for the key.
- You can also enter an optional Comment.
- Click Save.
- Assign your new blocklist or allowlist to a risk profile as a risk rule (see Assign Blocklist to Risk Profile screenshot). For more details, refer to Risk Profile and Risk Rules.

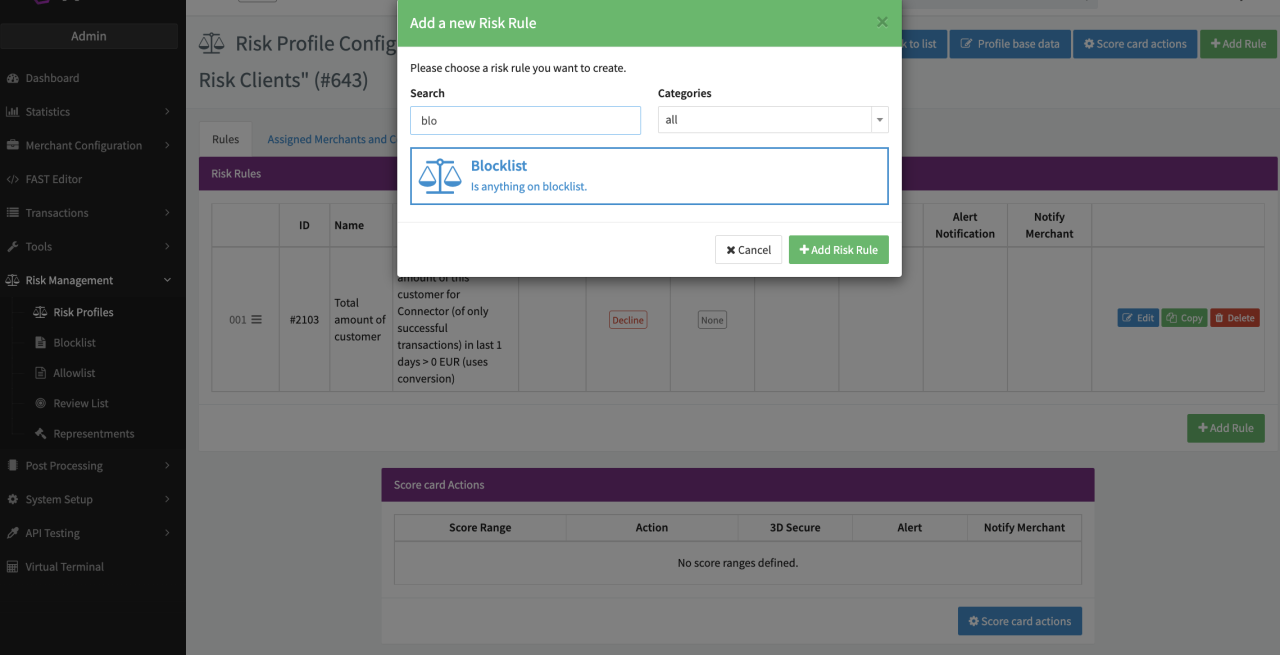
Blocklist/allowlist entries are only applied to transactions when assigned to the corresponding rule (Blocklist/Allowlist) in a risk profile.
Importing Data in Bulk
You can also import data for the allowlist/blocklist by uploading a file, rather than defining the rules manually in the IXOPAY platform.
This file should be a simple text file with each line representing a value to import for the specified key. For example, to import a list of email addresses to block, the file could contain following content:
To import data for your blocklist or allowlist:
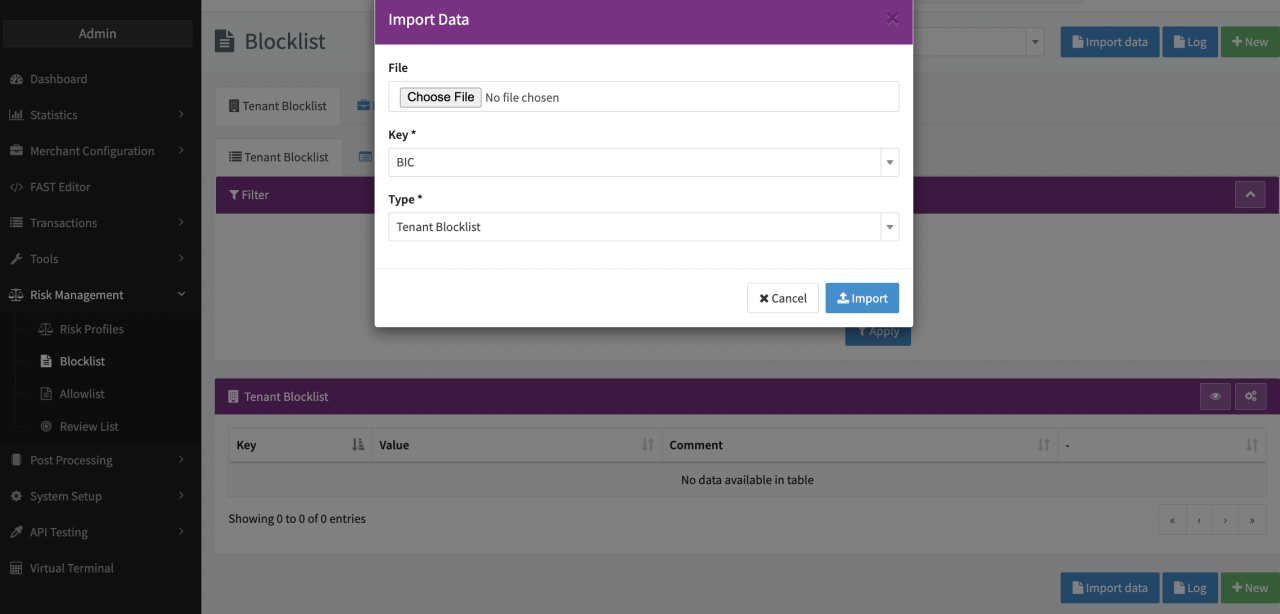
- Click on Import data at the top right.
- Select the File to import.
- Chose the Key you want to import data for (as values).
- Chose the type of blocklist/allowlist the values should be imported to (merchant, tenant or global).
Transaction details from transactions processed in the IXOPAY platform can also be added to the blocklist, see Blocklist Customer Data from Transaction list.
Blocklist Rules
Items can also be added to the blocklist based on rules. If a rule matches, the values in the specified fields are added to the blocklist.
To create a new rule:
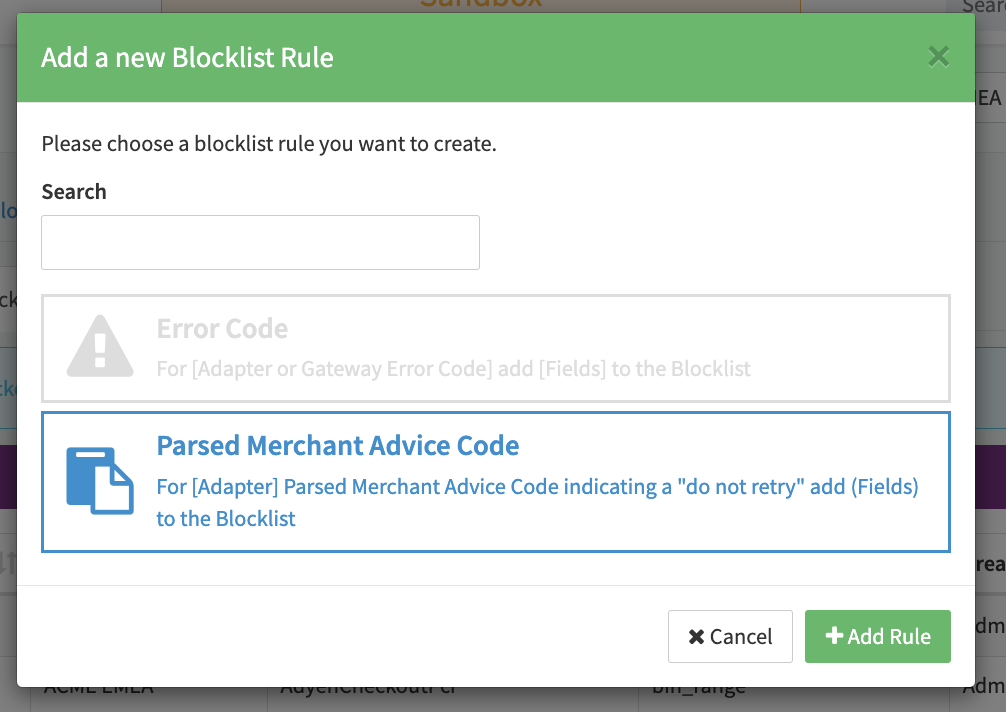
- Click on + New and select + New Blocklist Rule.
- Choose the rule category you want to use. Error Code, Parsed Merchant Advice Code
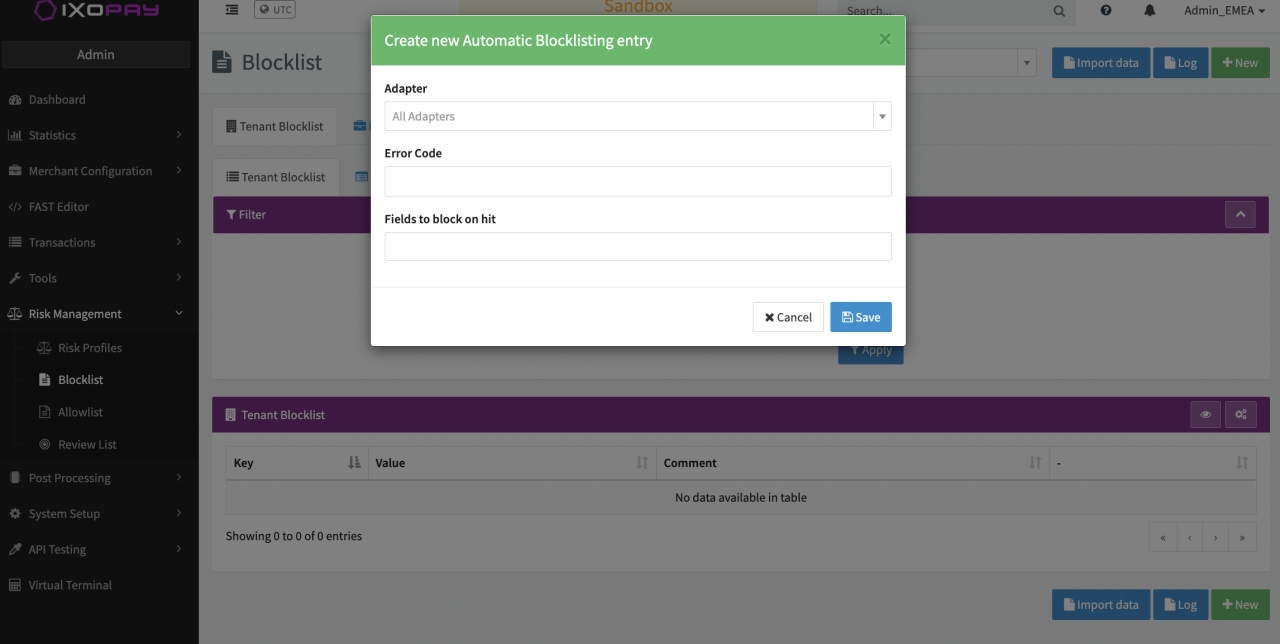
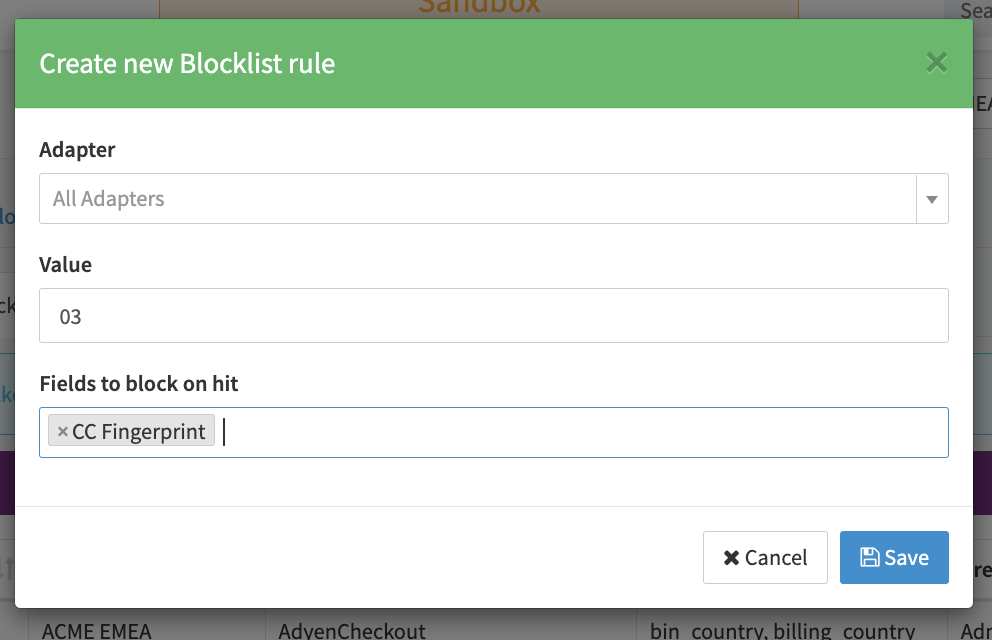
- Select an Adapter if you want to add entries to the blocklist based on the error code / merchant advice code received from an adapter. Leave this blank if you want to use the IXOPAY platform error codes.
- Enter the Error Code / Merchant Advice Code that should cause an entry to be added to the blocklist (see Add Rule Error Code and Add Rule Merchant Advice Code).
- Select the Fields to block on hit to determine what keys and values should be added to the blocklist. (Note: CC Fingerprint applies to both, Global and Merchant CC Fingerprint, and will put 2 entries on the related Blocklist)
- Click Save.
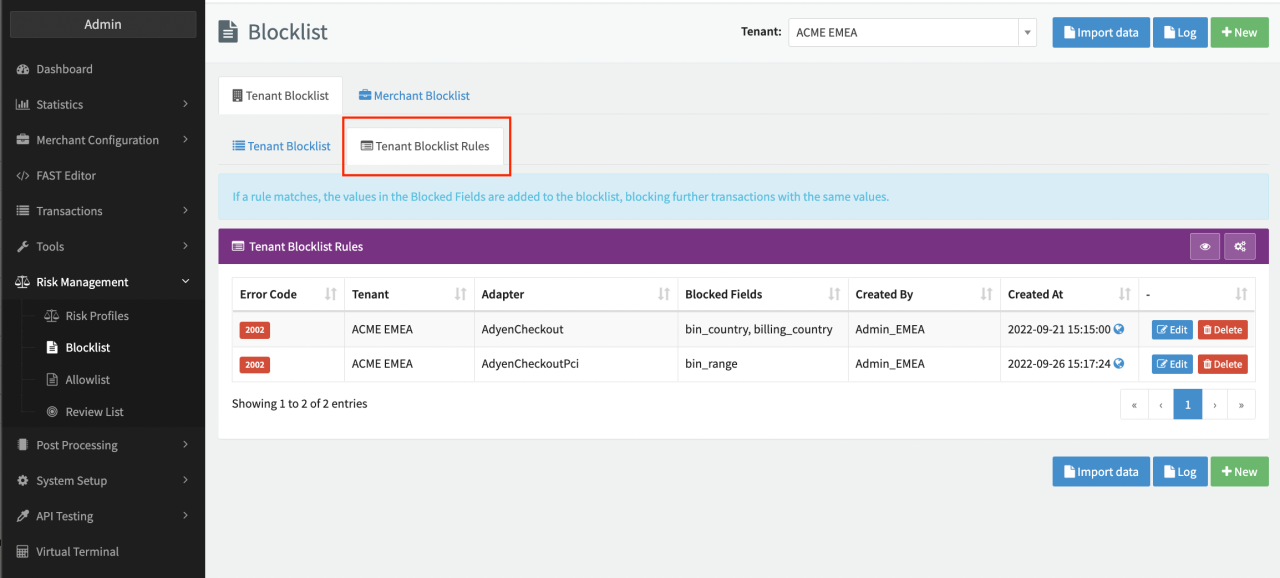
The new Blocklist rule is displayed on the Blocklist Rule List tab (see Blocklist Rule List).
Assign the blocklist to a risk profile as described above.
Blocklist/allowlist entries are only applied to transactions when assigned to the corresponding rule (Blocklist/Allowlist) in a risk profile.
Exporting Change Logs
Every change (create, edit, delete entries) made to the blocklist / allowlist is logged. To export the log entries for specific date ranges:
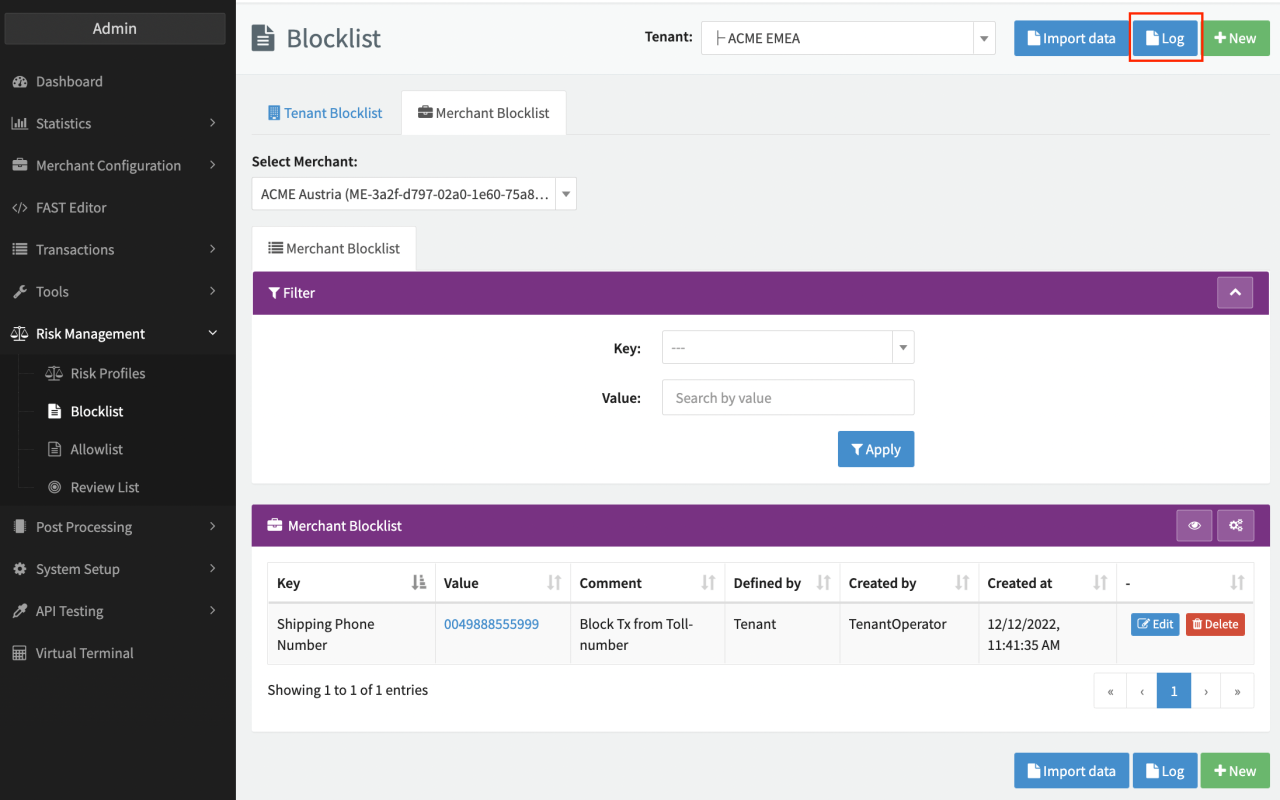
- Navigate to the Blocklist / Allowlist you want to export the log data for.
- Click on Log to display the logs.
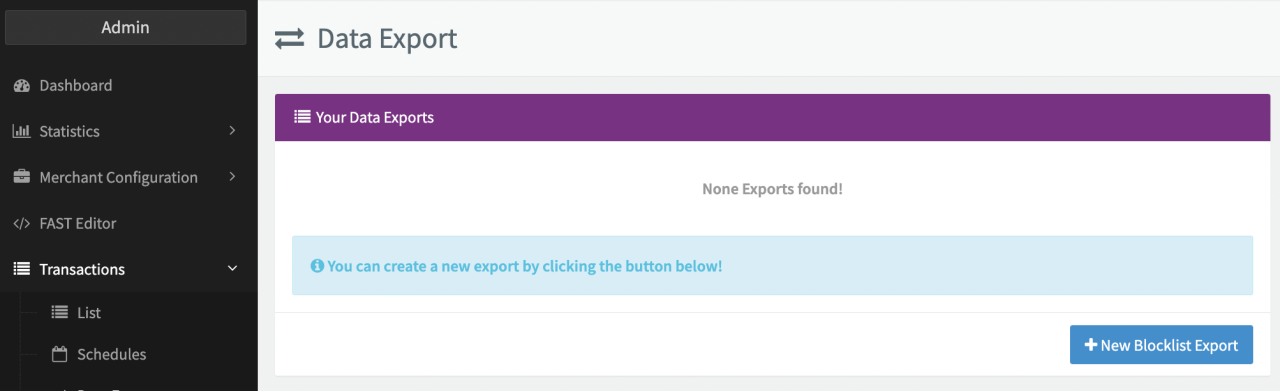
- Click on Data Export. You will be redirected to the Data Export page for blocklist / allowlist logs.
- Click on + New Blocklist / Allowlist Export.
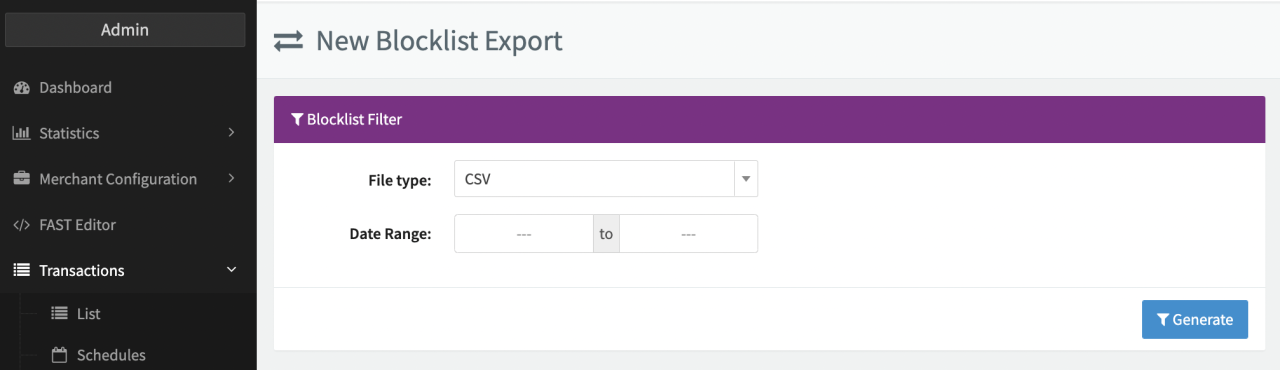
- Select the File type (csv, xlsx).
- Select the Date Range you want to export the logs for.
- Click on Generate. The status of the export is set to "Waiting". Depending on the amount of data that needs to be collected, the export can take some time (up to 10 minutes).
You can refresh the page during this process to see the current progress (as a percentage and the number of processed rows). You can cancel the export at any time before it is completed.
Once the export has completed, it is displayed in the Data Export overview with the status "Done". You can Download the log file or Delete it from here.
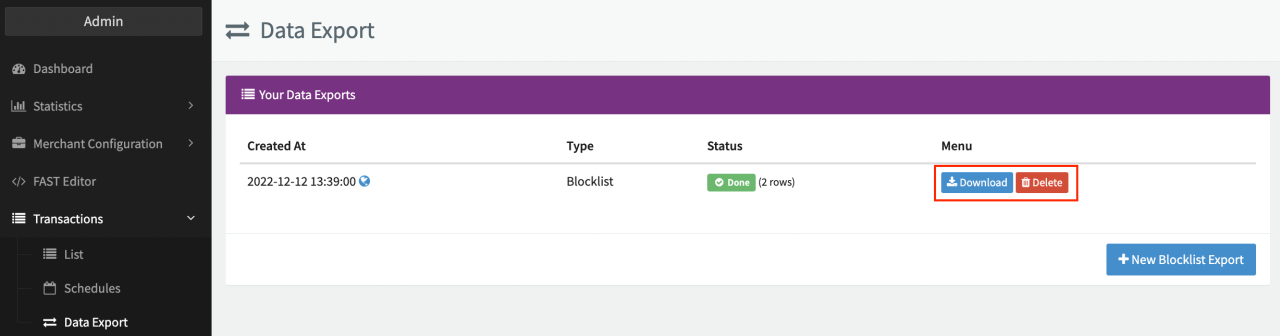
Files are retained for 12 months and permanently deleted thereafter.