Payment Templates
Video: Create New Payment Templates
How-To
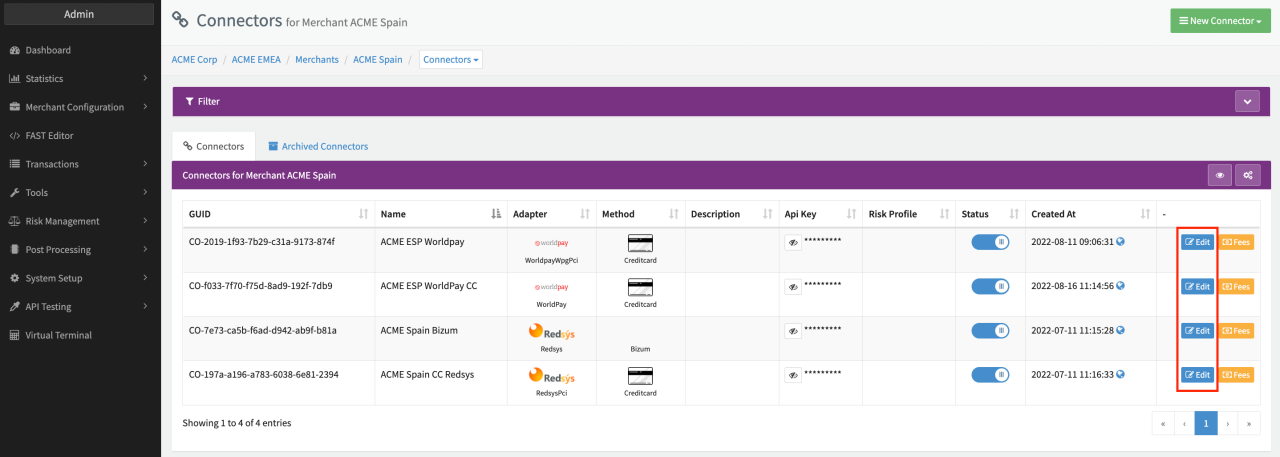
- Navigate to the Connector Details Overview (see Connector Overview)
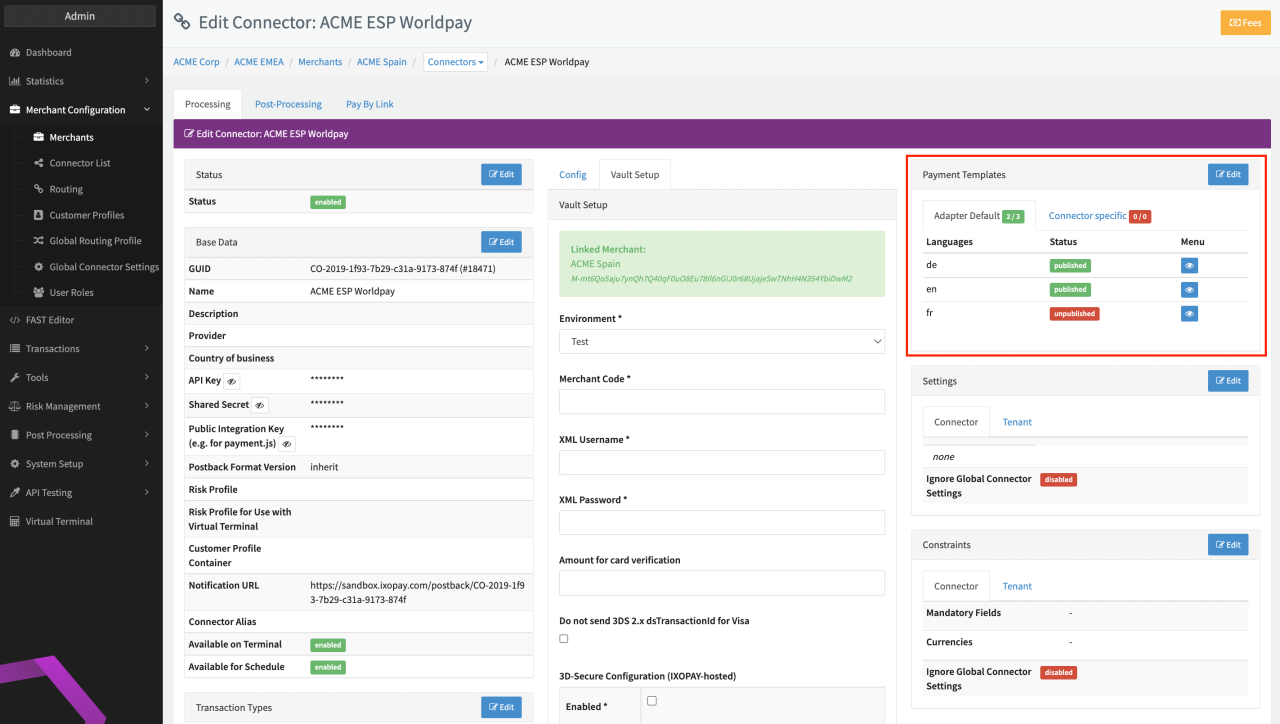
- Click Edit on the Payment Templates section (see Payment Templates)
The Payment Templates section has two tabs: each of them contains existing page templates which are either Adapter-wide, or Connector-specific. Connector-specific templates are those, which are used solely for the Connector they were created on. Adapter-wide, on the other hand, means that the template will be used for every Connector that uses the same Adapter as the Connector where the template was created on. If a Connector has both, an Adapter template and a Connector-specific template, it will use the more specific one, i.e. the Connector template over the Adapter template.
In that example, we will create different templates for different languages DE, EN, ES (see Example Templates).
Create a new template
To create a new template, simply follow these steps:
- Click Edit in the Payment Templates section
A new button will appear which will let you add new templates (see Edit mode).
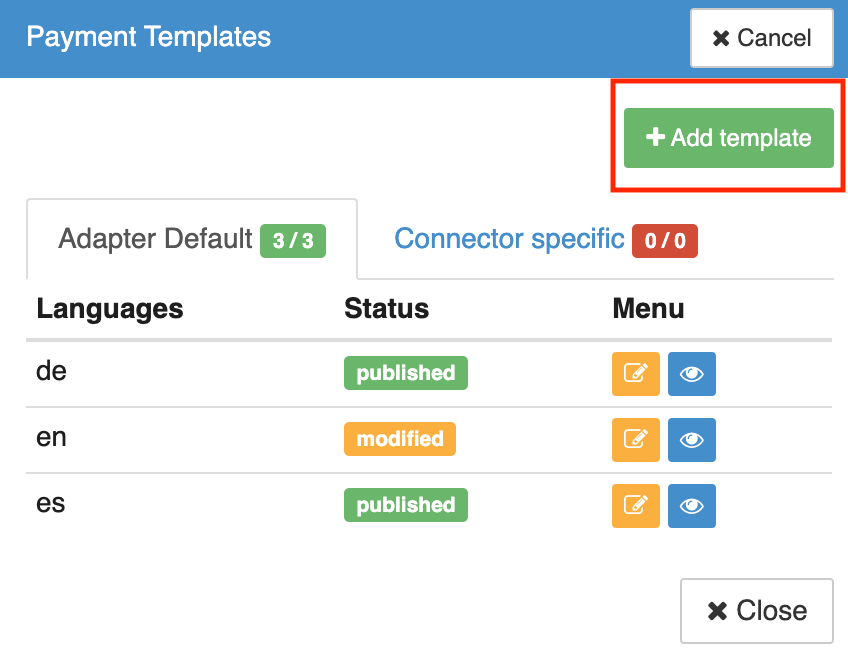
- Click + Add Template
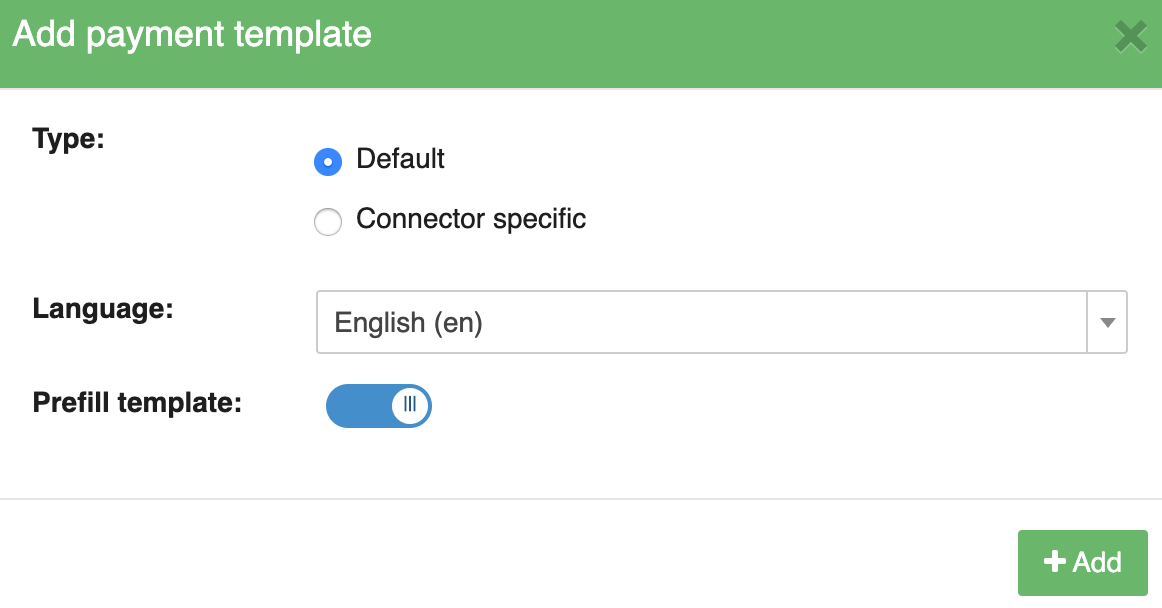
- Select the type of template, language and whether you want to prefill the template (see Add template)
- Type: Default = Adapter-wide. Connector specific = limited to current Connector
- Language: Using our payment templates it is possible to create individual experiences for each language.
- Prefill template: At the beginning there are no templates defined. However, it can be quick and easy to get started by using one of our default templates. While default templates are ready to be used, feel free to customize them after creation to create a seamless checkout experience for your customers. Prefilled templates are also a good reference on how a page could be structured.
For our example page, we will create a prefilled Adapter-wide template in different languages.
- Click + Add
Edit an existing template
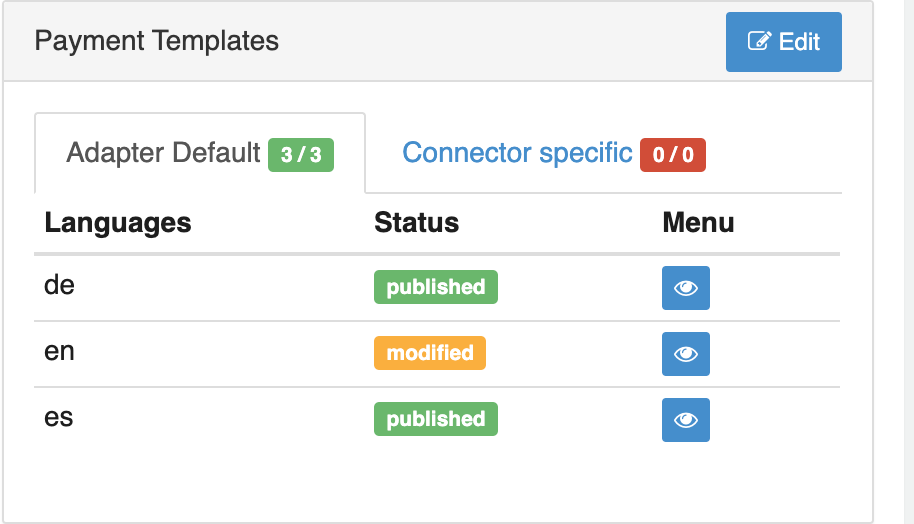
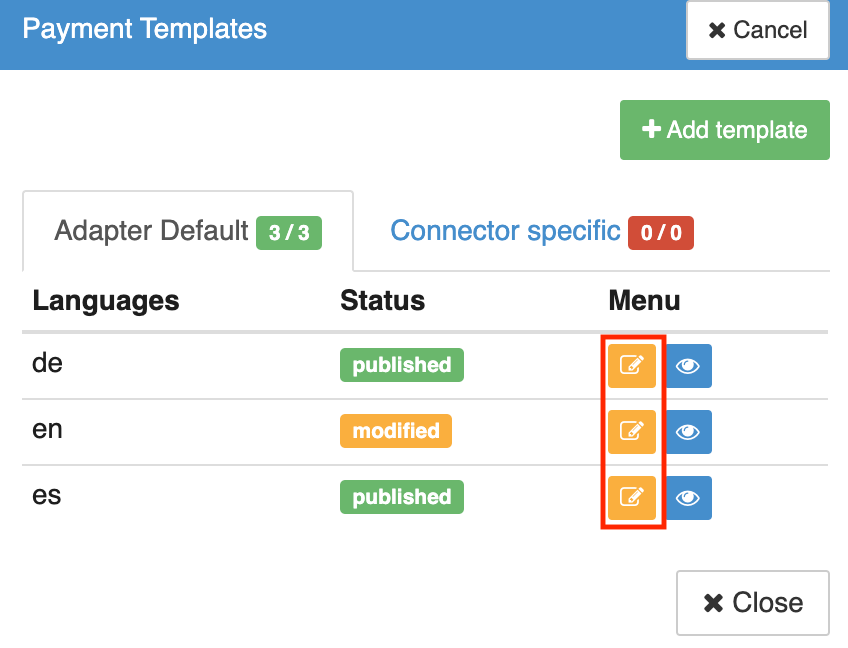
Once created, the new template is shown in the list (see Existing Templates). From the list, you can easily tell which language the template is used for, what the status is (modified or published), edit or preview the page.
To edit an existing template, simply follow these steps:
- Click Edit in the Payment Templates section
- Click the orange Edit button for the corresponding language template file
For details about Payment Templates please refer to the Fast Editor Setup section.
Publish templates
Before a Payment Template can be used by the Connector, it first needs to be published in the Fast Editor.
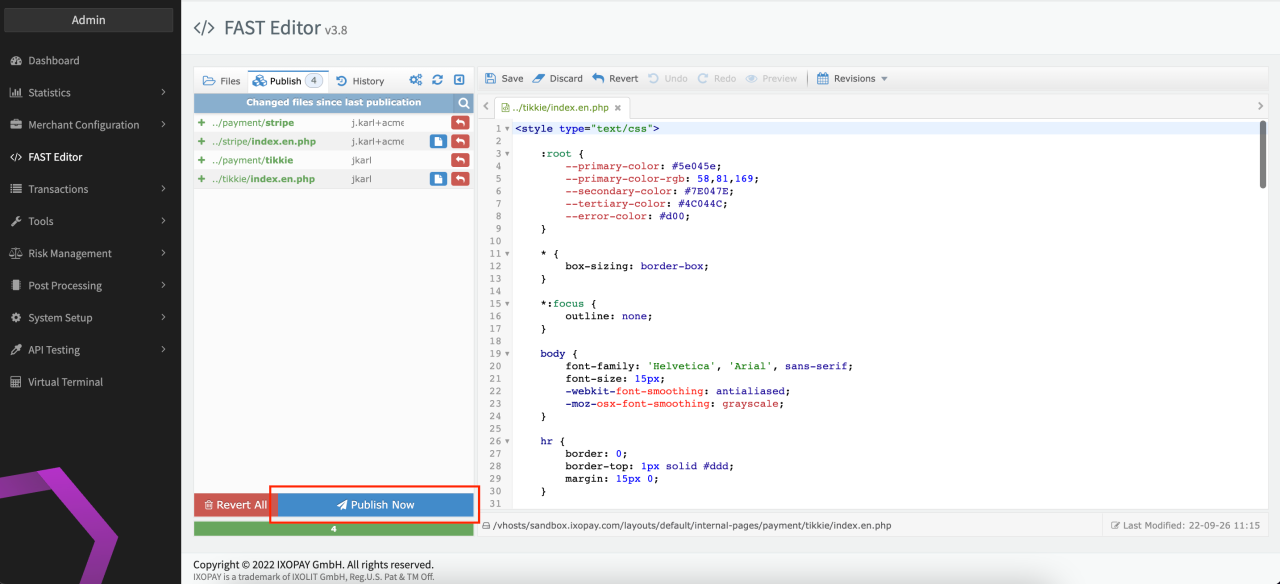
- Navigate to the Fast Editor
- Select the Publish Section (see Fast Editor Publish)
- Click on Publish Now
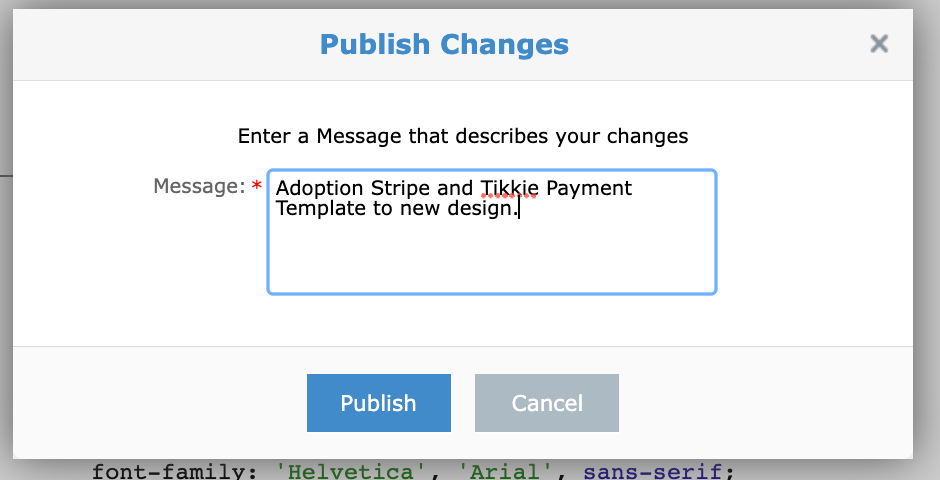
- Enter a Comment to document the changes made (see Change Log)
- Click Publish
During the publish step all changes will be published performed on templates in the structure regardless of the editor. Same is true for reverting of changes: all changes done after the the change that you want to revert will be lost.
Delete templates
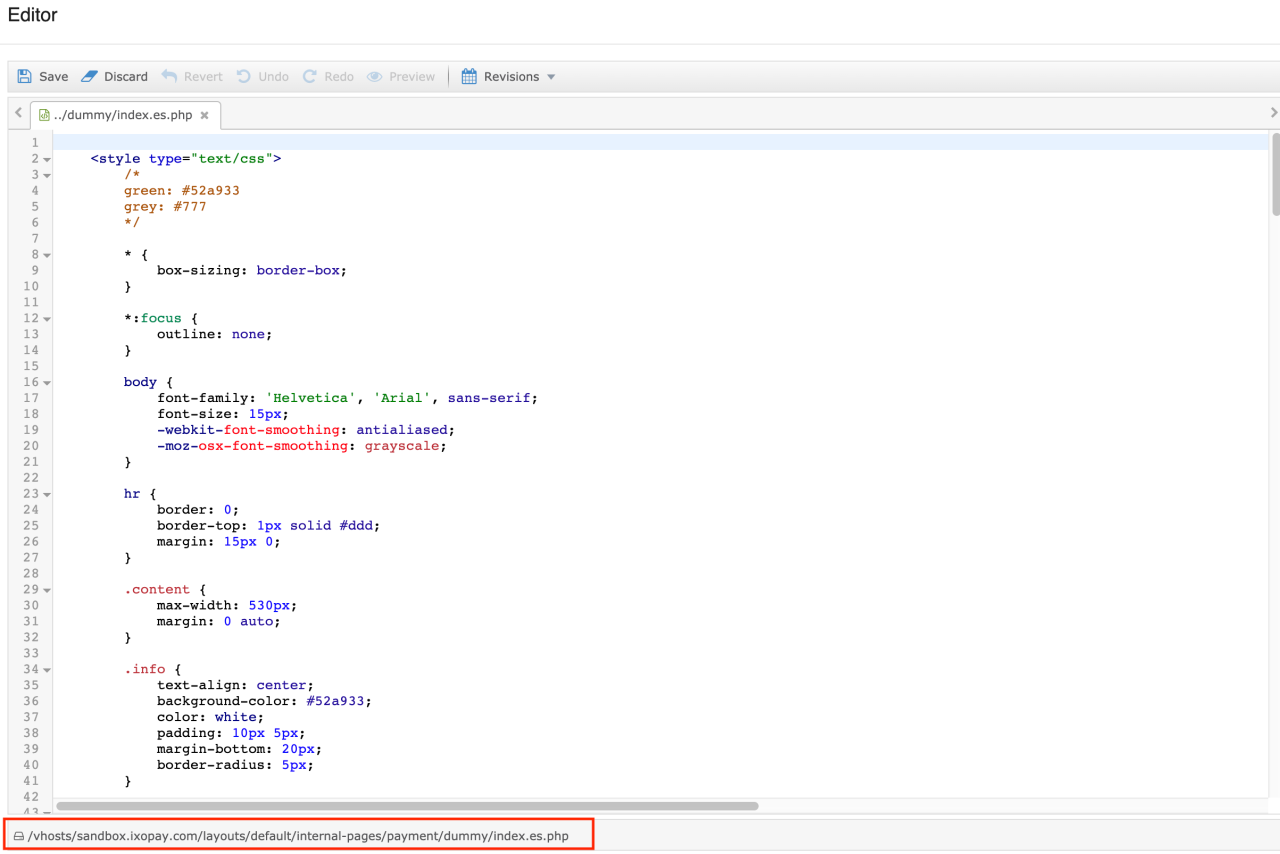
If you want to delete a template you have to do so to the FAST Editor by deleting the file from the folder structure there. You can find the path by clicking the Edit button (see Existing templates) in the Payment Templates section of th e Connector Details Overview on the bottom of the editor (see File Path FAST Editor).
Find also the detailed path information in the FAST Editor Setup section
Find more information about the template creation and styling in the Fast Editor section.